

Xamarin Forms MVVM - INotifyPropertyChanged

MVVM
INotifyPropertyChanged
The MVVM architectural pattern is widely used by a lot of XAML developers, which means that it is not only used by Xamarin developers but also by Windows, WPF, and other developers. This pattern guides the developer throughout structuring her code in a way that will make it much easier to maintain, scale, and reuse.
It is this last benefit the one that is most important, at least in early stages of development, to Xamarin developers, since that is what Xamarin is all about, let's then dive deep into how this pattern is used on a Xamarin Forms application, starting in this post with the INotifyPropertyChanged interface, one of the interfaces that will be of great use as we implement the MVVM architectural pattern.
Get the code for this post in this repo, under the INotifyPropertyChanged branch.
The INotifyPropertyChanged interface
I've never been good with the theory, I prefer to get my hands right into the code, and start explaining what is happening, as we write those lines of code. And my 15,000+ students agree (not bragging with the number), practice makes it easier to understand, but bear with me for a second as I briefly explain why this interface will be important as you implement the MVVM architectural pattern.
The MVVM pattern is one in which we structure our code in three parts: the Model, the View, and the View Model. It is up to the Model to abstract the problem, and represent the classes that are the abstractions of the problem. Speaking of a notes app, the Model would contain the classes that represent Notes, Notebooks, probably Users as well. It is up to the View to display the information to the user, and nothing else! The View should not have to deal with anything that is not related to what the user sees. Speaking of a notes app, the View would contain the Pages, maybe some User Controls about how the Notebooks, Notes, and Users are displayed on the screen. It is up to the View Model to handle the communication between the Model and the View and to implement the functionality necessary to provide that communication. Speaking of a notes app, the View Model may contain the functionality that reacts to the press of buttons, so new Notes and Notebooks can be created, or code that transforms a DateTime format from the Model to a string for the View to display something like "5 minutes ago" instead of "2018-03-21T15:04:30.0000000-06:00".
The use of the INotifyPropertyChanged interface then is to provide a way to communicate the logic with the view, so these are constantly up to date, here is where I come back to explain by doing, not talking.
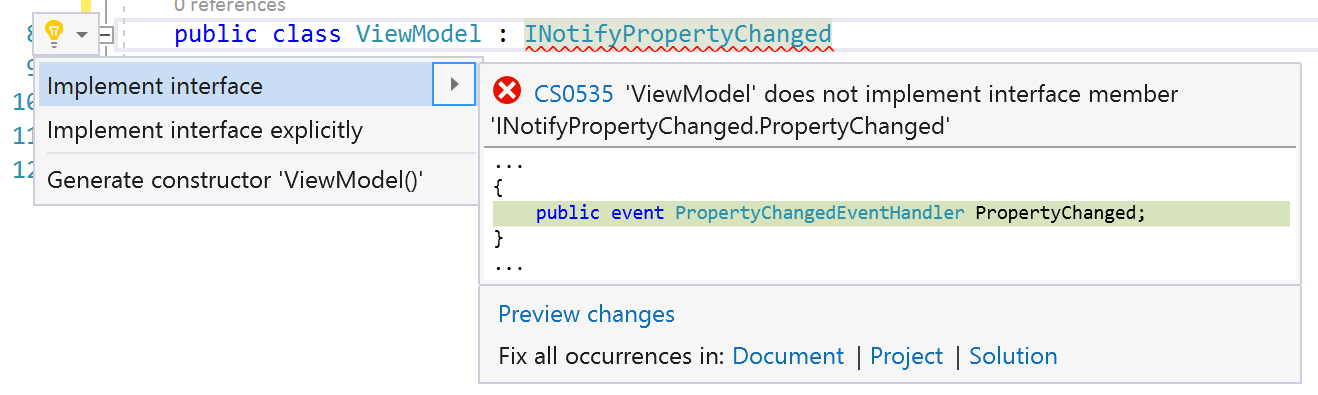
I have created a Xamarin Forms app that uses a .NET Standard library as a code sharing strategy, I won't make any changes to the default changes, I will simply create a class that will be called ViewModel, this new class will implement the interface.
BTW, to implement an interface you simply write a ':' after the name of the class, and write the name of the interface, Visual Studio's autocompletion tool will help you add any missing using directives, and implement the interface.
Implementing the Interface
Implementing an interface of course means adding all the members defined inside the interface, so our ViewModel class would look like this after implementing the interface:
public class ViewModel : INotifyPropertyChanged
{
    public event PropertyChangedEventHandler PropertyChanged;
}
The problem at hand is a simple calculator, so I won't need much. Only a property for let's say number one, another one for number two, and finally the result. What I will need, is to fire the PropertyChanged event that was added when we implemented the interface, every time any of these properties changes (aka every time the setter for any of these properties is executed). For this I can create a method that will fire this event, this event, by the way, requires a special type of event arguments, which should contain the name of the property that changed, so our method could look like this:
private void OnPropertyChanged(string propertyName)
{
    PropertyChanged(this, new PropertyChangedEventArgs(propertyName));
}
With that method created, we can call it from the setter of the properties that we will need:
private double numberOne;

public double NumberOne
{
    get { return numberOne; }
    set
    {
        numberOne = value;
        OnPropertyChanged("NumberOne");
        OnPropertyChanged("Result");
    }
}

private double numberTwo;

public double NumberTwo
{
    get { return numberTwo; }
    set
    {
        numberTwo = value;
        OnPropertyChanged("NumberTwo");
        OnPropertyChanged("Result");
    }
}

private double result;

public double Result
{
    get { return NumberOne + NumberTwo; }
}
Notice first that the Result property does not have a setter, this is because the result will never be set directly, but will entirely depend on the value of NumberOne and NumberTwo. But the other two properties do have setters, and from the setters not only are they calling the OnPropertyChanged method notifying that they have changed, but because that would mean the Result has also changed, they will call the OnPropertyChanged method notifying that that property has changed as well.
It is with this code that the notifications for when the value of a property change will take place, the benefit is that now, without the need to call setters and getters, we can get and set values. Here is what I mean:
XAML and Binding
Now that the interface is implemented, I will define the interface, which will consist of a couple of entries (one for each number) and a label (for the result). Nothing fancy here, just some margin to the StackLayout. Notice that we will now not need a name for these elements, we won't need an instance of Entry or an instance of Label because we won't need to access their properties, we will just bind the values from the Text property over to the properties back in the ViewModel class.
<StackLayout VerticalOptions="Center"
             Margin="20,0">
    <Entry/>
    <Entry/>
    <Label/>
</StackLayout>
What we WILL need then, is a resource of type ViewModel, which will contain all the three properties defined inside, and it will be through Binding, a powerful XAML feature, that the value from one property will be set (or get) to another property. The way to create this resource is this:
<ContentPage.Resources>
    <ResourceDictionary>
        <local:ViewModel x:Key="vm"/>
    </ResourceDictionary>
</ContentPage.Resources>
Now we can access the vm key to access its properties, binding them to the Text of the entries and the label.
Binding
Binding will require a few things to work. It requires the Source, or where is the information going to be. In this case, the source is the vm resource that we just created. It will also require the Path, so we can specify, from the source, which element is actually going to be binding. For example the NumberOne property to the Text property for the first Entry. And finally, the Mode will be of great importance in our example, by default the Mode is set to OneWay, which means that the information only flows from the Source to the XAML elements, but we can change that to TwoWay (I bet you can imagine what that means).
Now, since all three of the XAML elements that we defined would be using the same source, we can set that source directly to the StackLayout through the BindingContext. This context will then be inherited to all of the children of the StackLayout, and the BindingContext is used as the source when setting a Binding. To Set the BindingContext to the resource that we created, which is static, we add a line to the definition of the StackLayout.
<StackLayout VerticalOptions="Center"
             Margin="20,0"
             BindingContext="{StaticResource vm}">
So in the two entries and the one label, we just need to set the Path and the Mode, the Source is now being set through the BindingContext (which they inherit from the StackLayout).
<Entry Text="{Binding NumberOne, Mode=TwoWay}"/>
<Entry Text="{Binding Path=NumberTwo, Mode=TwoWay}"/>
<Label Text="{Binding Result, Mode=TwoWay}"/>
Notice that the Path can be either explicitly or implicitly defined and that we have to make sure that the value we set as the Path is identical to the name of the property defined in the ViewModel, since that is how the value will be accessed.
This is everything that is needed, you will be able to run the app now, and with no buttons needed, see the result of adding the two values together.

I immediately identify additional benefits of implementing the functionality this way:
- Because the Text is binding to a double value, only double values can be entered, if you try to write something that is not a double value, it just won't be possible.
- In a traditional implementation, you would need to change the keyboard to accept only numbers, and in the case of iOS, make sure with some parsing and if statements that the text is actually a number, here, we don't need any of that.
- No buttons are needed
- Because the events are fired as soon as the value changes, the results are immediate, no need to press any buttons
- Values can easily be set from the beginning.
- You may have noticed that the text in the entries and the label was "0" right from the beginning because by default a double is set to 0 upon "creation"
- You could easily change this from the constructor of the ViewModel class if you need any value initialization, this would already be binding to the view, so no need to access the view directly.
- No code behind!
- There is not a single additional line of code in the MainPage.xaml.cs file
Let me know what additional benefits do you identify with this implementation in this very simple example, don't forget to fork or add issues to the Git repository.
This topic, along with many many others, is covered in greater depth in my 25-hour long "The Complete Xamarin Developer Course: iOS and Android" course, which you can practically steal from me by