So the Mobile App service that was previously available to us on Azure is gone, that beautiful easy to setup service that helped us connect a SQL database to it, create tables so easily, and manage permissions, is not dead, sort of.
All tagged xamarin forms
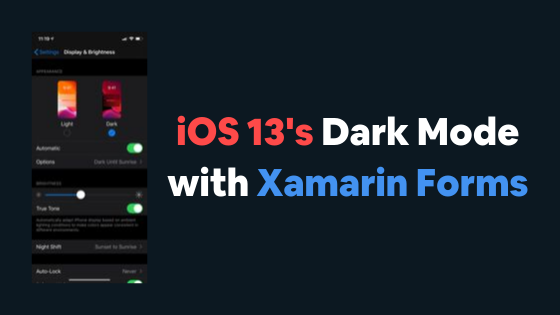
iOS 13's Dark Mode with Xamarin Forms
With iOS 13 came Dark Mode, something a lot of users enjoy, love, plead to developers to include in their apps. So it is only fair to your users that you enable that on your Xamarin Forms applications.
Routing in Shell - Passing Information Between Pages
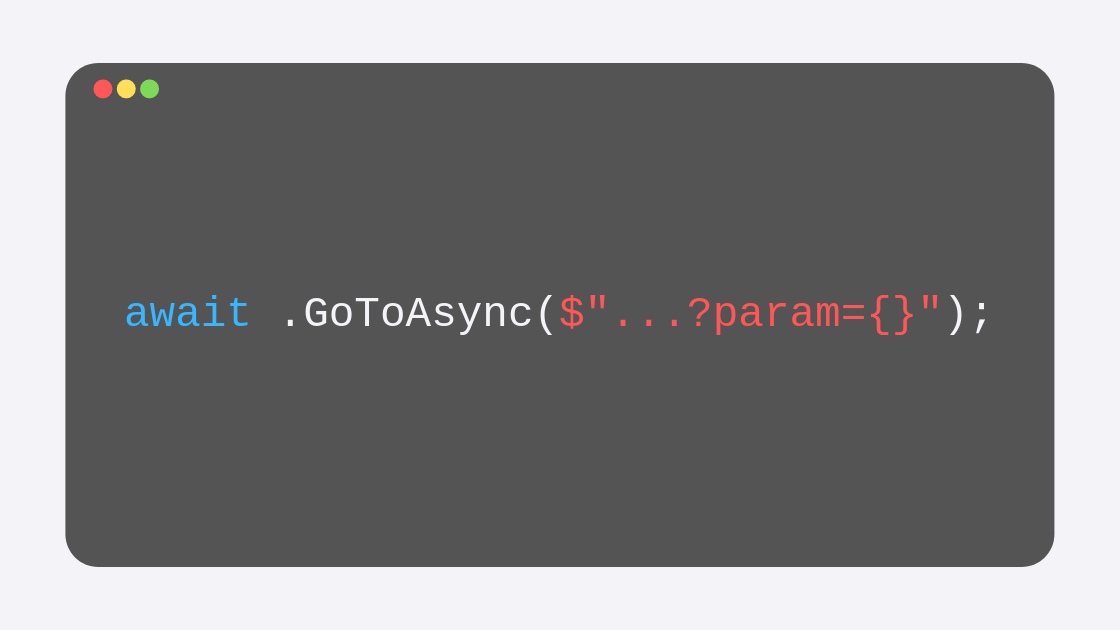
In the previous post I explained how you can use routing to navigate from any page inside the Shell to any other page (within or outside the Shell itself). Now I want to focus on the steps that you need to perform to get data flowing between the two pages.
This is of course crucial, as you create your application, many times, you will want the origin page to send data to the destination page, whether to display it or to use it to do something else, like read from a database the elements that contain a specific keyword or something.
Routing in Shell - The New Navigation Paradigm in Xamarin Forms
Since my previous posts about the new Shell, Xamarin Forms 4 has been released, and with it the release (non-beta) version of the Shell, which comes immediately with some improvements. Without changing the code that I created in the previous post -in which I created a few elements that were shown on the flyout menu, as well as some tabs and “secondary” tabs- the interface now looks better. It finally includes that hamburger icon, and the list of items looks ok on notched-iPhones, something that was missing at least on the Xamarin Forms 3.6 version I used in the post I mentioned:
Structure of Shell - The New Navigation Paradigm in Xamarin Forms
In my previous post I talked about how you can start using the new Xamarin Forms Shell in your apps, how to set it up and how to use it to create some tabs. In this post I want to take a closer look at this new navigation paradigm so you can start using it freely to create the apps that you need. We will take a look at its structure and its core features and explore how the flyout view works and how you can create one.
Using Material Design with Visual in Xamarin Forms 3.6
New in Xamarin 3.6 is a new feature that incredibly easily allows us to use material design on the elements that we define with XAML not only on Android, but on iOS as well. This means that, by changing one property in each element (or even better, a container) Material Design is going to be applied.
New in Visual Studio 2019: The Xamarin Forms Creation Flow
The new creation flow for Xamarin Forms projects in Visual Studio 2019 is a bit different, so for those of you interested in knowing what changed or confused by the new templates, here is the process to follow.
Dependency Services on Xamarin Forms
While Xamarin Forms has evolved greatly, and more and more plugins are created for us to be able to use native functionality directly from the .NET Standard Library, there will be from time to time a specific functionality that is not yet available through shared code.
This doesn’t mean that you must think of an alternative, say native Xamarin. Xamarin Forms after all still has those native projects. So what do you do? You code the native functionality and inject it over to the .NET Standard Library using Dependency Injection.
Correctly Display Your App on iPhones with a Notch
Almost any app that you may have will look bad on iPhones with a notch if it is not correctly configured. All those iPhones that have launched after the iPhone X back in 2017 have notches that caused Apple to change the way apps look just a little bit.
It is your job as a developer to adapt your applications to this change. Thankfully, it is quite easy to do, literally it takes only one line of code in your Page’s files and that is it.
How the heck does one do DataBinding with XAML
DataBinding is one of those things that once you learn, you have no idea how you lived without it before.
Being one of the most important things you can learn about XAML, this lecture builds on the example that we have been building in previous lecture to complete an introduction to the Xamarin platform. After this, you will be much more efficient when creating and linking your interfaces to your apps’s logic.
Using ListViews in Xamarin Forms
So now you have read the data from the SQLite table into a list of C# objects that are ready to be listed into the user interface.
Now it is time to learn how to use ListViews, which will be the go-to element when you need to display a collection of data to your users.
Reading a SQLite Database
Reading a database will be very straight forward, especially once you know how to establish the connection to the database, which you should already know thanks to our previous post.
All you have to make sure of now is that when reading, you get all that data in the correct format, not as a simple query to a database, but as an actual list of elements. So in this lecture I cover how to do exactly that.
Gesture Recognizers in Xamarin Forms - Tappable Label
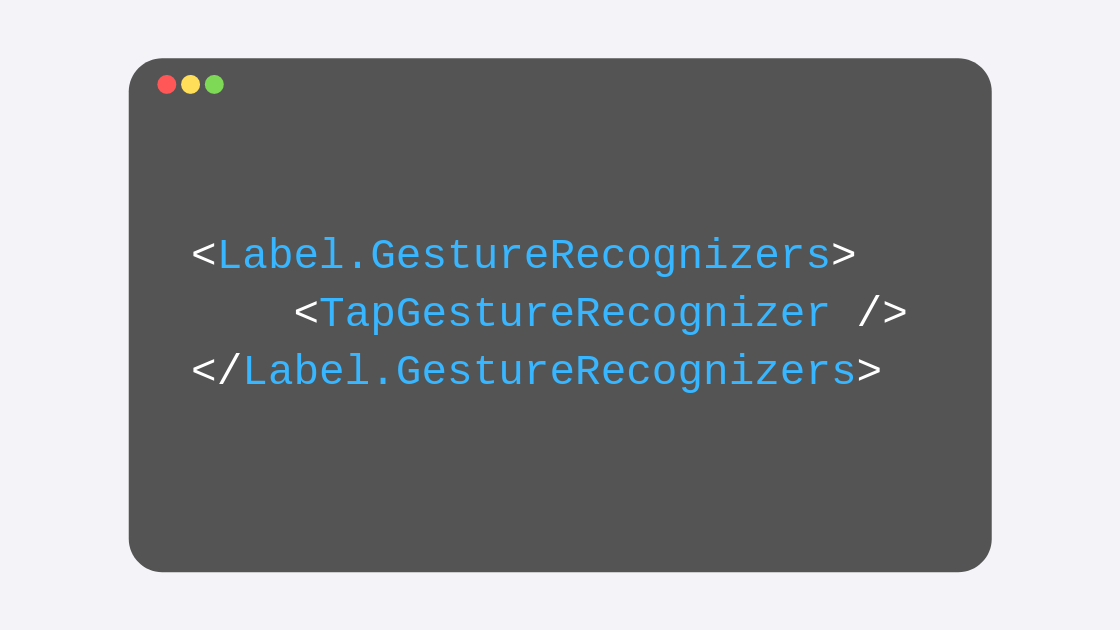
Quite often you may want a XAML label to respond to touch gestures. It may be the case that your label must behave as a hyperlink to a website, or perhaps your terms of service and privacy policy (which is a typical scenario in which we add hyperlinks).
By default, XAML labels do not have any events that we could use in this scenario, so your first option may be to create a button and try to make it look like a simple Label (on iOS this is easier than on Android, where buttons always have a background and very distinctive edges).
Inserting to a SQLite Database
Well, now that the Model is ready, and the database is created for both Android and iOS scenarios, there is nothing left for us to do but to start adding the functionality for the necessary requests inside of our application.
In this video, I start by explaining how to insert to the database, and how a specific usage of the using keyword will be rather important for you to understand.
Modeling the SQLite Table and Columns in a C# Class
In this video we create the C# class -or Model- that will represent the SQLite table that will exist in the database.
This class, of course, will also contain the properties that will represent all the columns in the table, as well as some attributes that will be very important for when the database is created.
SQLite Xamarin Forms Tutorial - iOS Database Path
When using SQLite inside of your applications, you will need to set the location for the database file.
In this video I cover what you have to do for the iOS scenario, which indeed will be slightly different from the Android one, which means that we will have two versions of the same code -one per platform- and that we will need to code some functionality in the platform-specific projects.
SQLite Xamarin Forms Tutorial - Android Database Path
When using SQLite inside of your applications, you will need to set the location for the database file.
In this video I cover what you have to do for the Android scenario, which indeed will be slightly different from the iOS one, which means that we will have two versions of the same code -one per platform- and that we will need to code some functionality in the platform-specific projects.
Adding NuGet Packages to a Xamarin Forms (starting with SQLite)
So SQLite can be quite useful in a lot of scenarios. I believe most apps should use this light-weight version of a database, even when they rely on another cloud database for their information.
But before we learn how to implement SQLite into our apps, let’s first take a look at how can we add third-party functionality into our apps, so we don’t have to code SQLite functionality from the ground up.
Testing your Xamarin Forms App - iOS Simulator (Windows edition)
Testing on an iOS Simulator is not as straight forward as on Android. You will find that it is still pretty easy but can get a bit confusing if you don't know about the restrictions that Apple sets, and how Visual Studio can help you meet those restrictions for your app to be able to run on a simulator, whether you are on macOS or Windows (this video covers Windows).
Changing ListView Selection color with a Custom Renderer
I don't know about you, but the selected element color of a ListView, when rendered on an Android device, can feel like too much, not to mention just off with the other colors. I don't mind the light gray color for the same behavior when rendered on iOS, but on Android, it just feels wrong.


